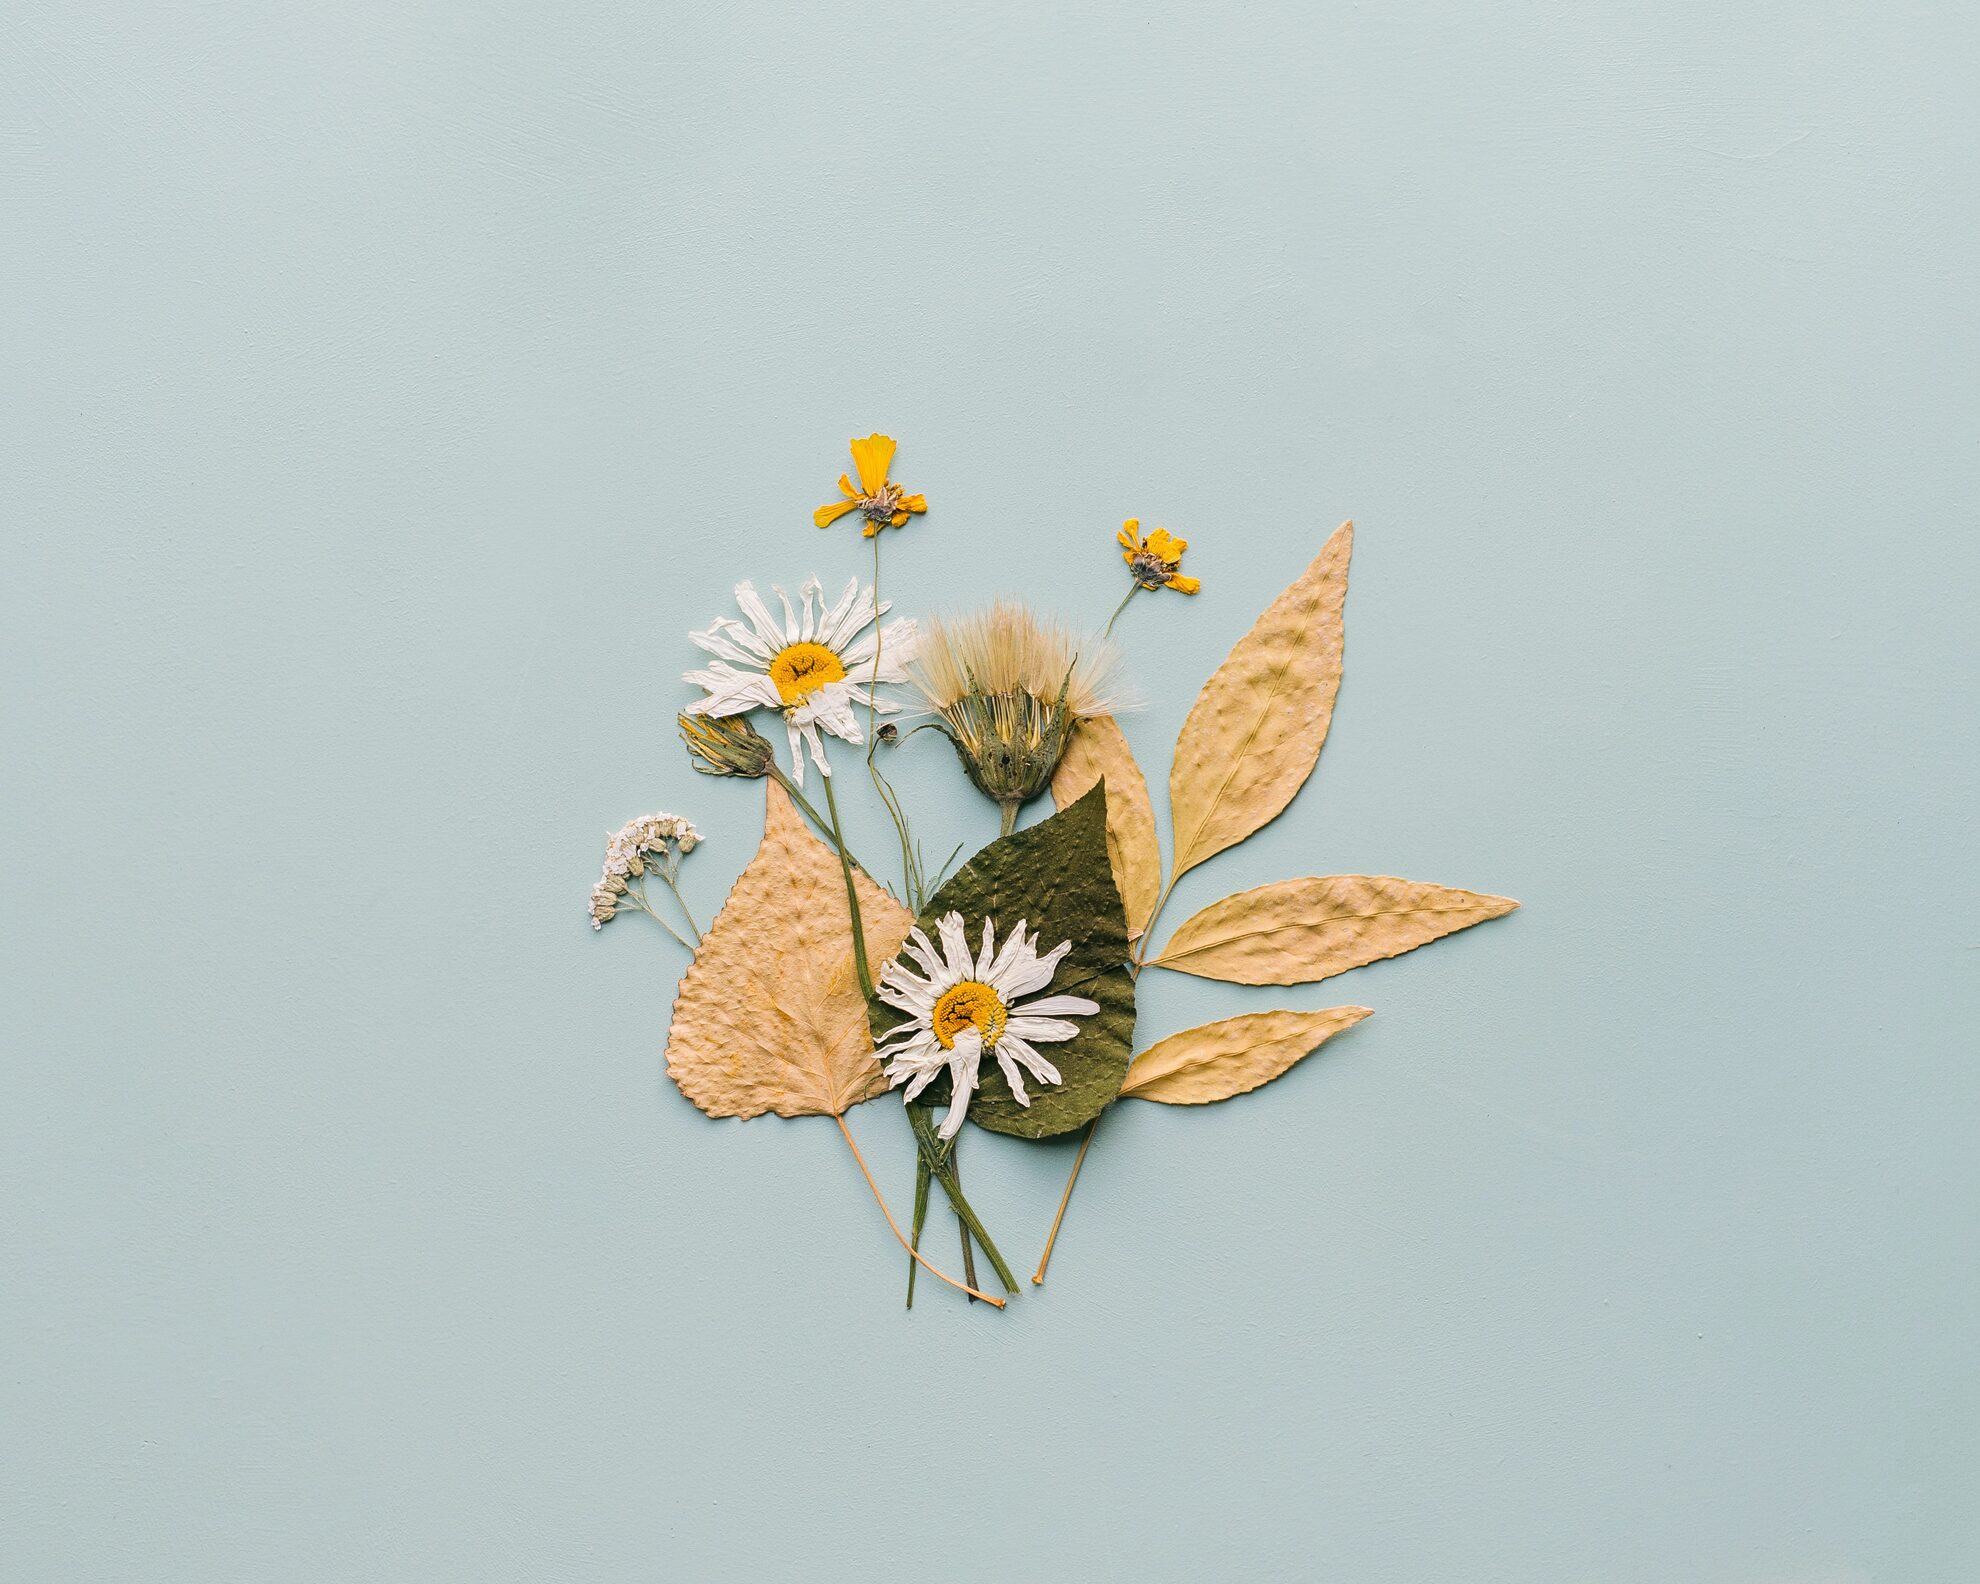
Pressing and drying flowers is the perfect way to preserve a special memory. It’s also fun, easy, and inexpensive — you can even make your own flower press with things that you probably already have lying around your house!
What You’ll Need
• A Book or a Flower Press
• Lining Paper
• Your choice of flowers (smaller works better!)
• Some heavy books, or flat heavy objects.
Prepare Your Flowers
Before you begin, it’s important to prepare your flowers. Remove any leaves, dirt or debris from the flower by gently brushing it off with your fingertips or a soft-bristled brush. Also check carefully for any small bugs that may be hiding inside the flower head.
To finish preparing your flowers, cut each stem to whatever length you want—consider what you might use them for to help you make your decision!
At times of the year where not many flowers are not blooming outside, why not pop down to your local florist and choose a few stems there.
It is best to experiment with smaller flowers with less moisture in them to start out with to avoid any browning.
Prepare Your Press
You do not need a purpose-built flower press to begin pressing flowers, a simple book will be more than adequate!
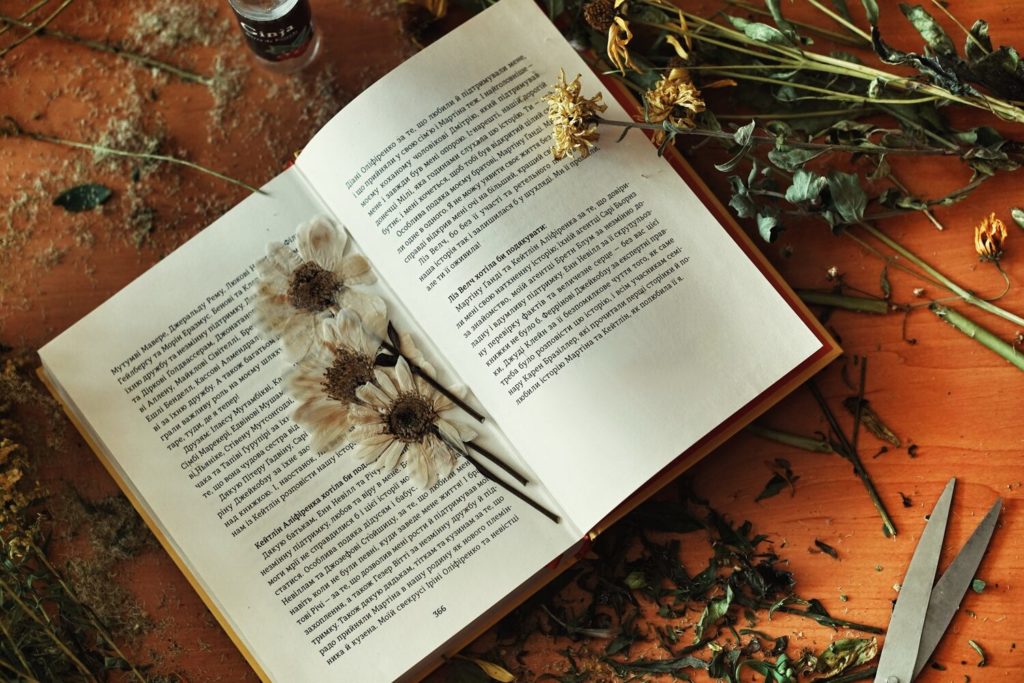
Press Using A Book
You do not need a heavy book to press flowers, but one with a larger surface area will give you more room to arrange your flowers. It is best to choose a book that you don’t mind getting damaged, as moisture from the flowers will be absorbed by your lining paper and could potentially seep onto the pages. You may also find that some flowers will leave an indent on the pages.
To begin, open the book and line the pages with parchment paper or newspaper. Lay your flowers on your lining paper within the book and once you are happy with the placement, add another sheet of lining paper over the top and simply close the book! It is important to close the book gently, as the flowers and petals may move around otherwise.
Place your book press on a flat surface and add some more books, or flat heavy objects on top of it to press.
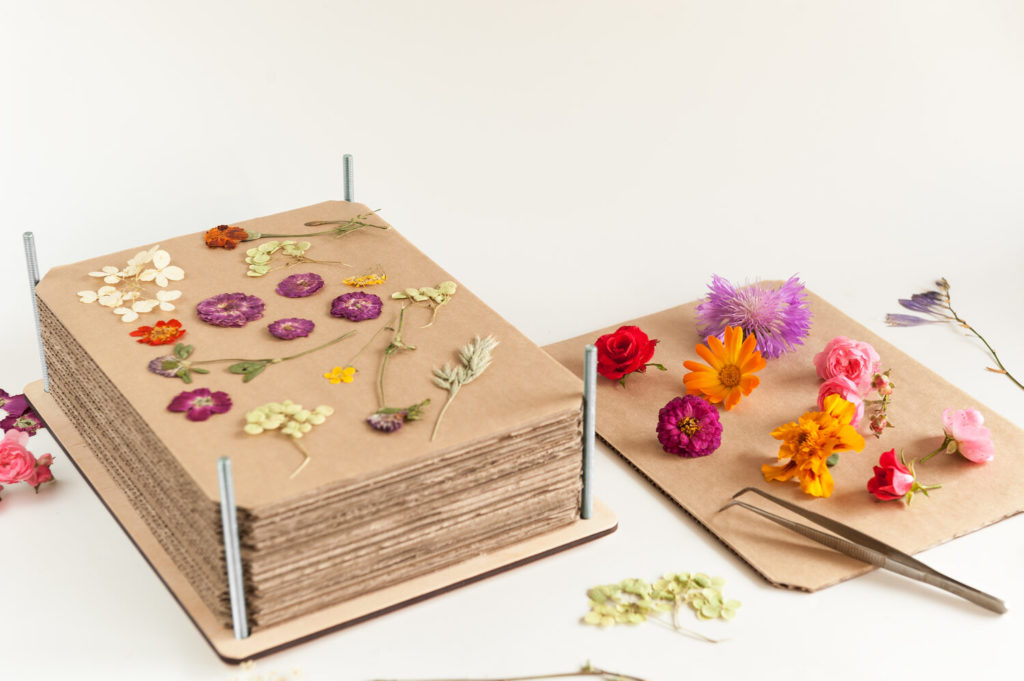
Press Using A Flower Press
Using a purpose-built flower press gives you some more control over the process but works in much the same way as a book.
To begin, open the press by unscrewing each of the 4 corners. Layer a sheet of card with lining paper and place your flowers on top. Sandwich each layer of flowers with another sheet of lining paper and another sheet of card.
To close the press, apply pressure to the top of the press with your hand and screw each corner on loosely before tightening each corner.
Wait For Your Flowers to Dry
The hardest part of drying flowers is waiting for them to dry! Check back in 2 – 3 weeks to see your handiwork! Dried flowers can be used in all sorts of decorative ways, for birthday cards to cakes – though make sure you are using edible varieties only if using them for the latter!
Storing Your Dried Flowers
To store your flowers, make sure you place them in an airtight container to ensure that they do not absorb any moisture and keep them in a cool, dark place.

